Introduction: Why Talking Head Videos Rule the Internet
Let’s be real for a second.
When was the last time you watched a YouTube tutorial, an online course, or even a LinkedIn video where someone was just… talking to the camera?
Chances are, it was probably today. That’s how powerful talking head videos are.
They’re everywhere — YouTube creators use them to grow massive audiences. Coaches and online course creators rely on them to educate. Businesses use them in presentations and marketing campaigns. Podcasters and interview shows love them because they humanize the message.
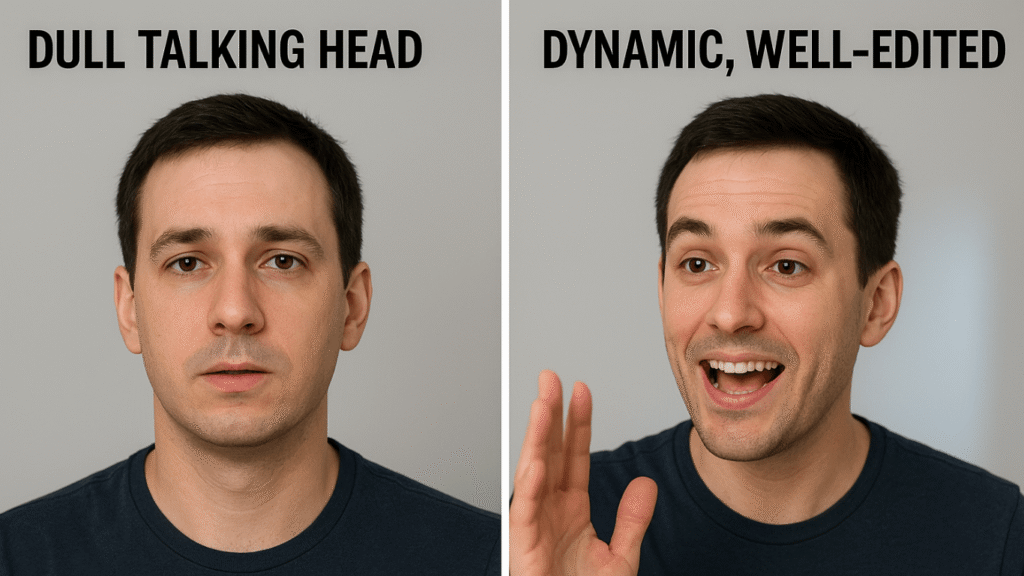
But here’s the problem: talking head videos can be boring.
It’s just you (or your client) sitting in front of a camera, speaking. If you don’t use the right camera angles and editing tricks, your viewers will click away faster than you can say “subscribe.”
That’s where smart talking head video editing comes in.
In this blog, I’ll show you:
- The best camera angles to make your videos engaging.
- Proven editing tricks that top YouTubers, educators, and businesses use.
- How to keep viewers hooked until the very end.
By the time you finish reading this, you’ll not only know how to make better videos, but you’ll also know how to make them look professional — without Hollywood-level budgets.
Understanding Talking Head Videos
Before we dive into the editing hacks, let’s get clear on what we’re talking about.
A talking head video is basically a head-and-shoulders shot of someone speaking directly to the camera. Think of a news anchor, a teacher giving an online lecture, or a YouTuber explaining how to fix your phone.
Where do we see them most?
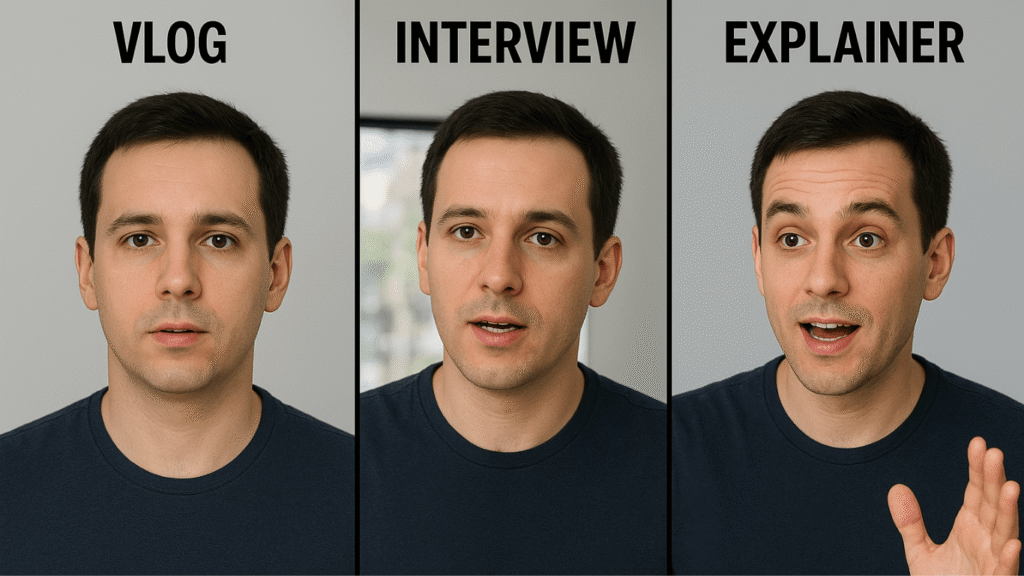
- Vlogs – Creators talking directly to their audience.
- Tutorials & How-Tos – Step-by-step teaching.
- Interviews – Conversations between two people.
- Corporate Videos – Business updates, leadership messages, brand storytelling.
- Explainers – Breaking down a topic or product.
So what makes a talking head video successful? Three things:
- Clarity – Both in audio and visuals. Viewers must hear and see you clearly.
- Personality – People watch people, not robots. Energy, authenticity, and facial expressions matter.
- Editing – Smart cuts, angles, and effects keep things moving so viewers don’t snooze.
Why Camera Angles Matter in Talking Head Videos
If you’ve ever filmed yourself, you know this: the wrong angle can kill your video.
Shoot too low, and it looks like you’re towering over the audience. Shoot too high, and it feels awkward. Stick to one static shot for 10 minutes, and people will lose interest.
The goal is to create visual variety while keeping the focus on the speaker.
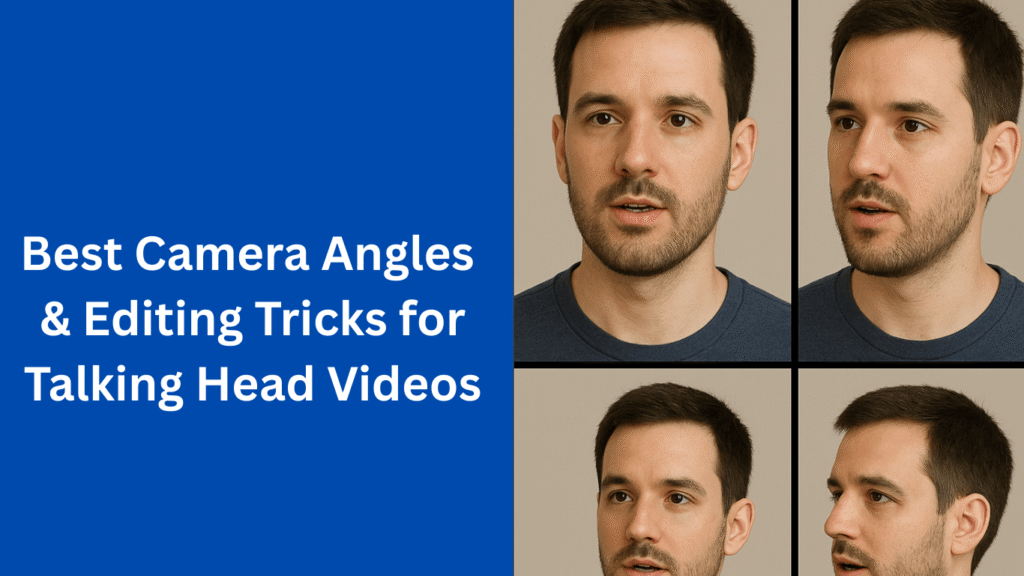
Here are the best camera angles for talking head video editing:
1. The Classic Eye-Level Shot
This is the bread and butter of talking head content. Camera at eye level, framed from the chest up. It feels natural, conversational, and trustworthy.
Pro Tip: Keep your eyes in the top third of the frame (rule of thirds).
2. The Slight Angle Shot
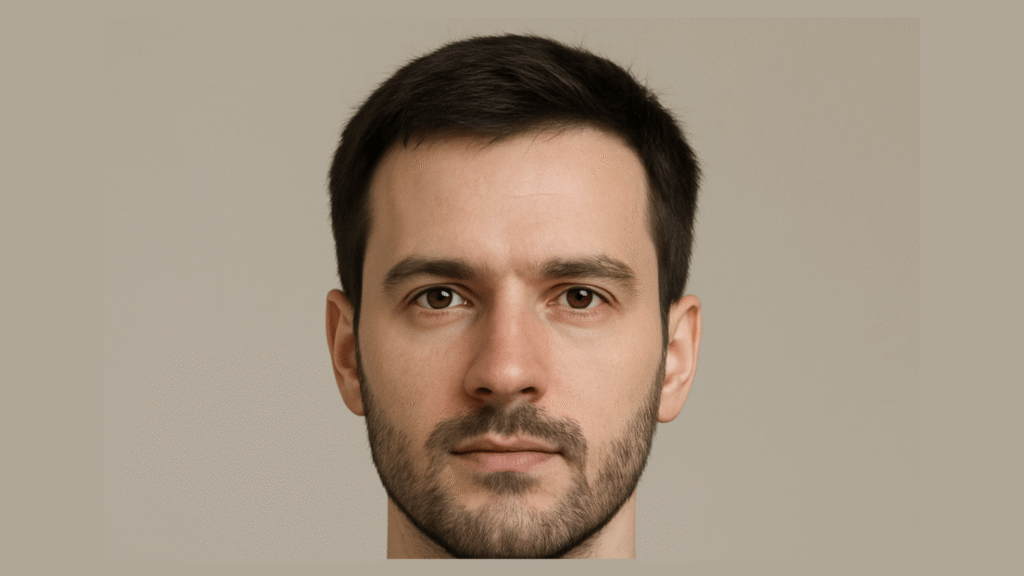
Instead of facing the camera dead-on, turn your body slightly to one side. It adds dimension and feels less robotic. This is great for interviews, testimonials, and corporate settings.
3. The Over-the-Shoulder (OTS) Shot
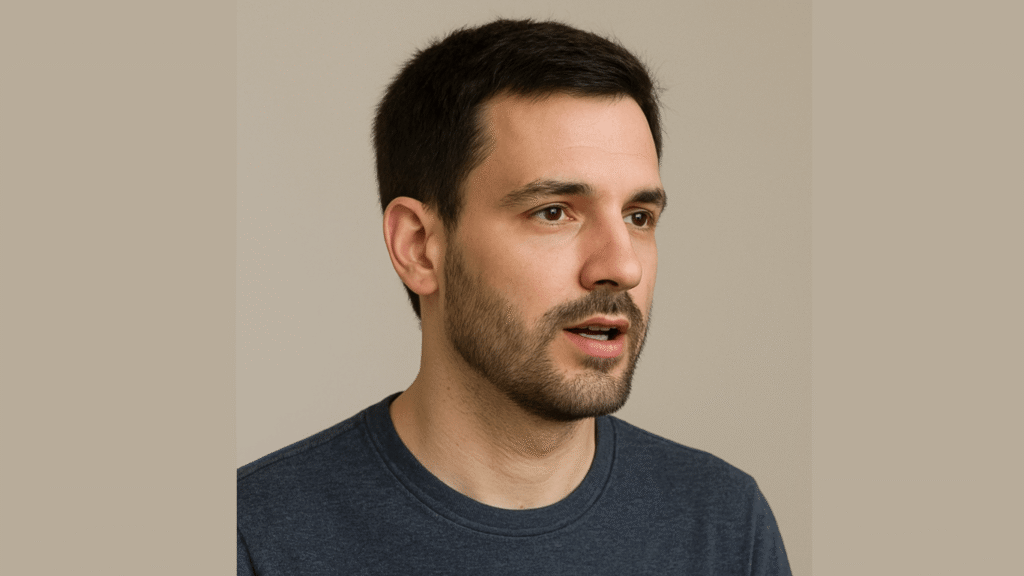
Want to show authority, like you’re teaching or explaining? Use an OTS shot where the camera catches your profile and part of your workspace. Perfect for tutorials, product demos, or lectures.
4. The Wide Shot (Environmental Context)
Step back and show your surroundings. This is ideal for vloggers, lifestyle creators, or businesses that want to showcase their office, studio, or set.
5. The Cut-In / Close-Up Shot
Switching to a close-up adds drama, emphasis, and intimacy. Use it when making a key point.
Pro Tip: Don’t stick to just one angle. Record two (or more) cameras, or fake it in editing by zooming/cropping. This alone boosts engagement massively.
Editing Tricks to Keep Talking Head Videos Engaging
Alright, here’s where the magic really happens.
Filming is only half the battle. Editing is what transforms a plain talking head into content people binge-watch.
Let’s talk editing hacks you can steal today.
1. Jump Cuts (Yes, They Work)
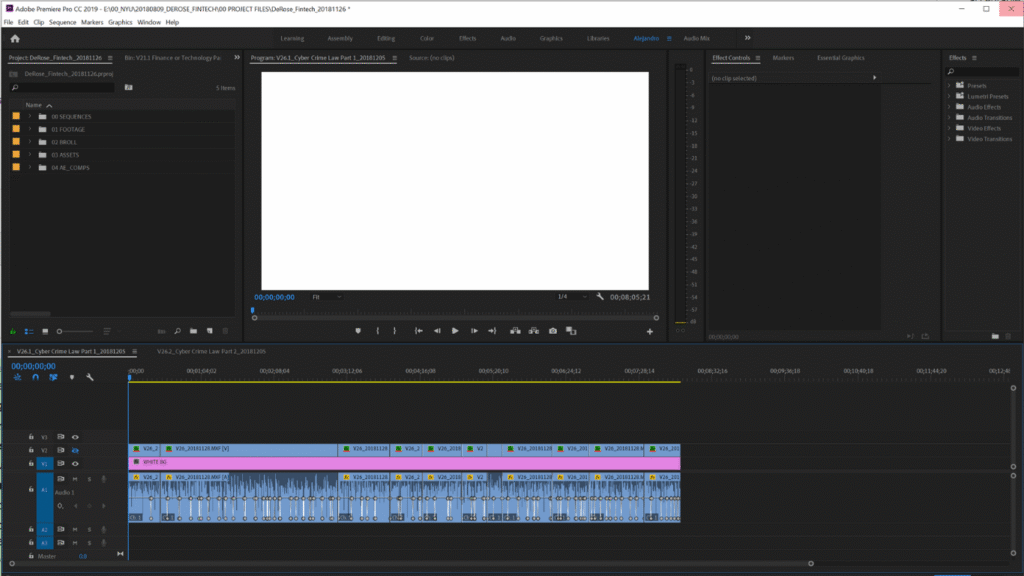
Jump cuts are when you cut out small bits of silence, filler words (“uh, um”), or pauses. The result? Faster pacing.
It’s the style that YouTubers like Casey Neistat and MKBHD use to keep things moving
2. B-Roll Saves the Day
If you take away one thing from this blog, let it be this: B-roll is your best friend.
B-roll is supporting footage you overlay on top of your talking head. For example:
- A chef talking (A-roll), while you show close-ups of food (B-roll).
- A business coach talking, while you show slides, graphs, or client clips.
This breaks monotony and visually explains what’s being said.
3. Text & Motion Graphics
Adding text highlights (“3 Tips for Better Angles” on screen) or motion graphics makes your content instantly more polished.
Tools like Adobe Premiere Pro, Final Cut Pro, or even Canva video editor make this simple.
4. Pattern Interrupts
Ever notice how good YouTubers add sudden zoom-ins, memes, sound effects, or quick transitions? That’s a pattern interrupt.
It resets the viewer’s attention span. Add one every 30–45 seconds.
5. Split-Screen & Picture-in-Picture
Great for interviews, reaction videos, or presentations. Instead of a boring headshot, you can show both the speaker and visuals at once.
6. Background Music & Sound Design
Subtle music underneath can keep energy up. Just make sure it’s low enough not to distract. Also, add sound effects (pops, whooshes) for transitions.
7. Zoom & Crop for Emphasis
Even if you only have one camera, zoom in slightly on certain lines. It feels like a second angle and highlights key moments.
8. Call-to-Action (CTA) Overlays
Want subscribers, clients, or sign-ups? Don’t just say it — show it. Add animated text or buttons mid-video.
Example: “Hit subscribe ↓” (with a pointing arrow graphic).
Advanced Tips: Taking Talking Head Editing to the Next Level
Now that you know the basics, let’s go pro.
1. Multi-Camera Setups
If you can, record with two cameras. One wide, one close. Switch between them in editing, and it looks like a Netflix documentary.
2. Color Grading for Mood
Ever notice how pro videos look crisp and cinematic? That’s color grading. Adjusting tones, contrast, and warmth instantly elevates your video.
3. Framing with Foreground
Put plants, books, or objects slightly blurred in front of the camera. It adds depth and interest.
4. Dynamic Subtitles
Captions aren’t just accessibility tools. Bold, animated subtitles (like in TikToks and Reels) keep viewers glued.
Repurposing Content
Edit your long talking head into short clips for TikTok, Instagram, or YouTube Shorts. This maximizes reach without extra filming.
Common Mistakes to Avoid in Talking Head Video Editing
Even pros make mistakes. Here are pitfalls to dodge:
- Static shots that never change. Boring.
- Bad lighting. No one sticks around for grainy, dark videos.
- Distracting backgrounds. Keep it clean and professional.
- Over-editing. Too many flashy effects = chaos.
- Ignoring sound. Bad audio will kill engagement faster than bad video.
Tools You Can Use for Talking Head Video Editing
Here are some beginner-to-pro options:
- Beginner-Friendly: iMovie, Canva Video, CapCut
- Intermediate: Adobe Premiere Pro, Final Cut Pro, DaVinci Resolve
- Advanced: After Effects (for motion graphics)
Talking Head Videos in 2025: Trends to Watch
AI Video Editing Tools – Apps like Descript or Runway make editing faster.
Short-Form Talking Heads – YouTube Shorts, Reels, and TikToks are exploding.
Interactive Video – Add clickable elements inside the video.
Virtual Sets – Creators using green screens with dynamic backgrounds.
Why Helium Edits Is Your Secret Weapon
Now here’s the thing.
You can absolutely DIY your talking head video editing. But if you’re running a business, managing a brand, or building an online course… do you really have time to spend hours cutting clips, adding B-roll, designing captions, and tweaking angles?
That’s where Helium Edits comes in.
We specialize in short-form and long-form video editing that keeps your audience hooked. From jump cuts and captions to full-blown branded edits, we’ve got your back.
Whether you’re a YouTuber, real estate agent, course creator, or business professional — we make sure your videos don’t just look good, but actually convert.
👉 Want pro-level talking head video editing without the headache? Check out Helium Edits here
Conclusion: Make Talking Heads… Talk
Talking head videos don’t have to be boring. With the right camera angles and smart editing tricks, you can transform a simple video into something engaging, professional, and binge-worthy.
Here’s the big takeaway:
- Mix up your camera angles.
- Use editing tricks like jump cuts, B-roll, and captions.
- Keep energy flowing with pattern interrupts.
- And when in doubt? Get help from the pros (that’s us 😉).
Remember: your face, your message, your story — that’s what matters. Editing just makes sure people stick around to hear it.
So the next time you hit record, don’t just film. Create.
And if you’re ready to level up your content today, you already know who to call: Helium Edits.
